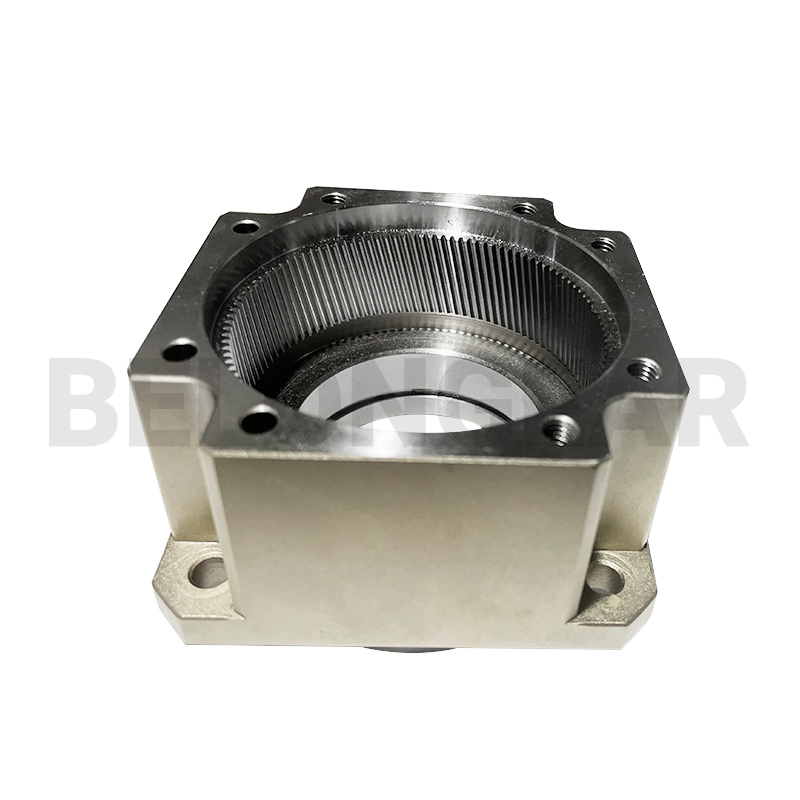
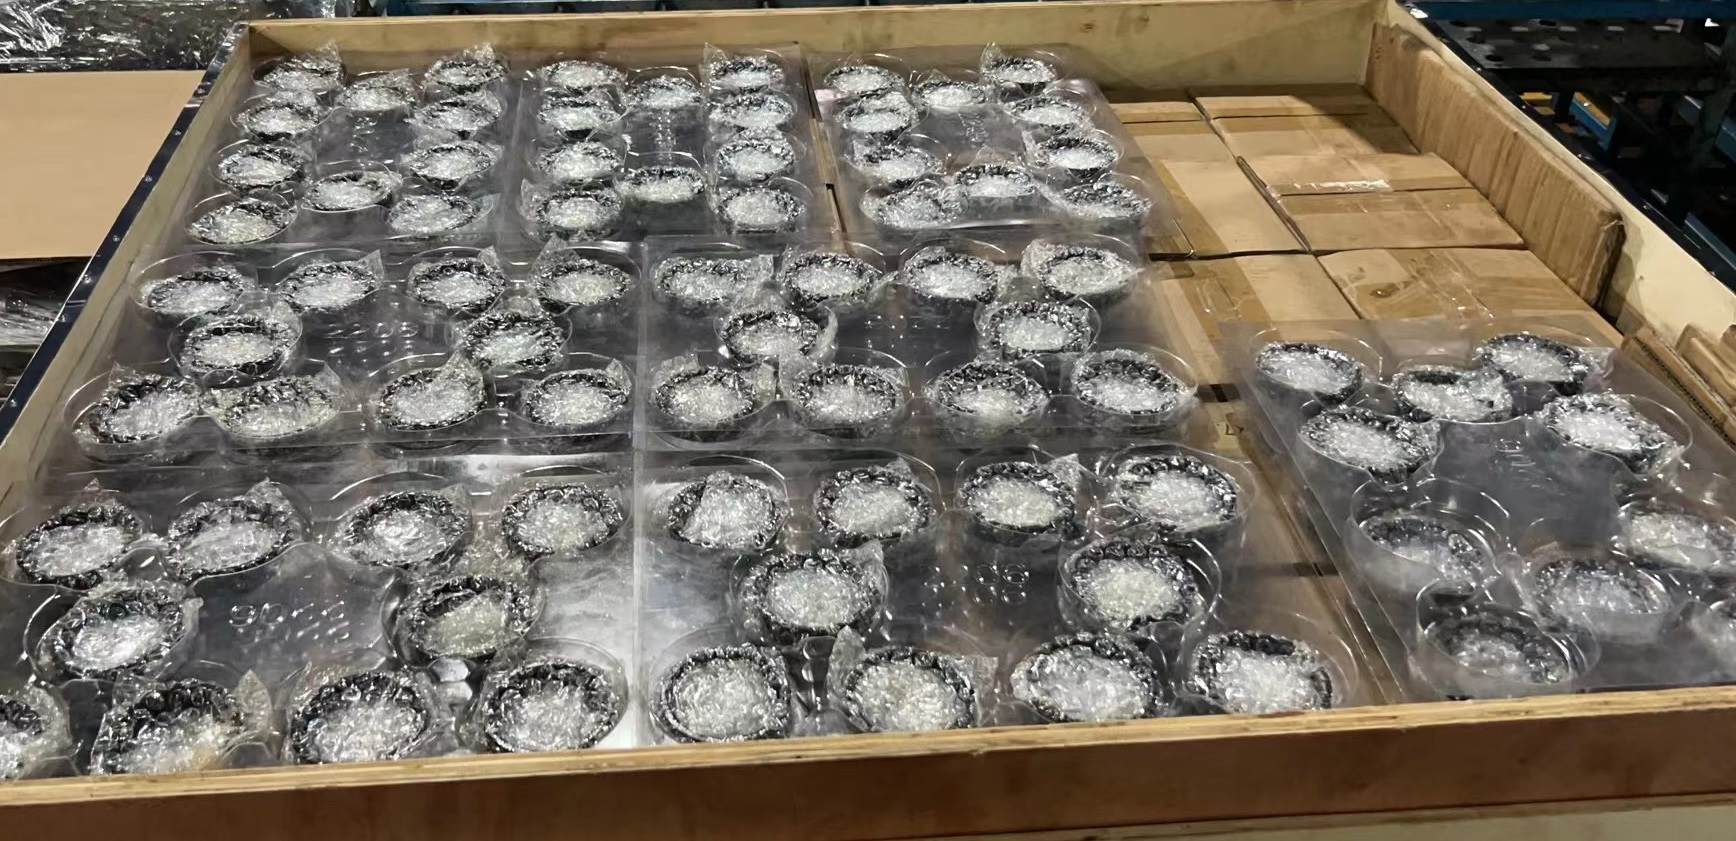
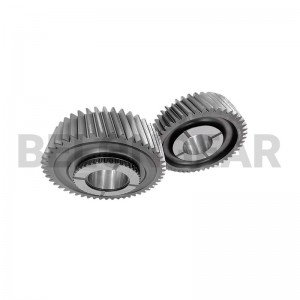
The ring gear refers to the internal gear on the same axis as the planet carrier in the planetary gear transmission. It is a key component in the transmission system used to convey the transmission function. It is composed of a flange half-coupling with external teeth and an inner gear ring with the same number of teeth. It is mainly used to start the motor transmission system.
The machining process of the ring gear includes the following steps:
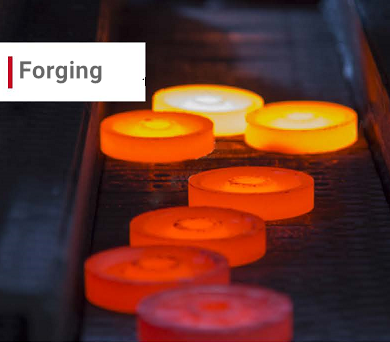
1. Preliminary forging forming: select commercially available steel, reserve a margin according to the drawing requirements, and preliminary forging forming
2. Polishing treatment: polishing and polishing the preliminarily formed workpiece in step A to remove surface burrs and impurity particles;
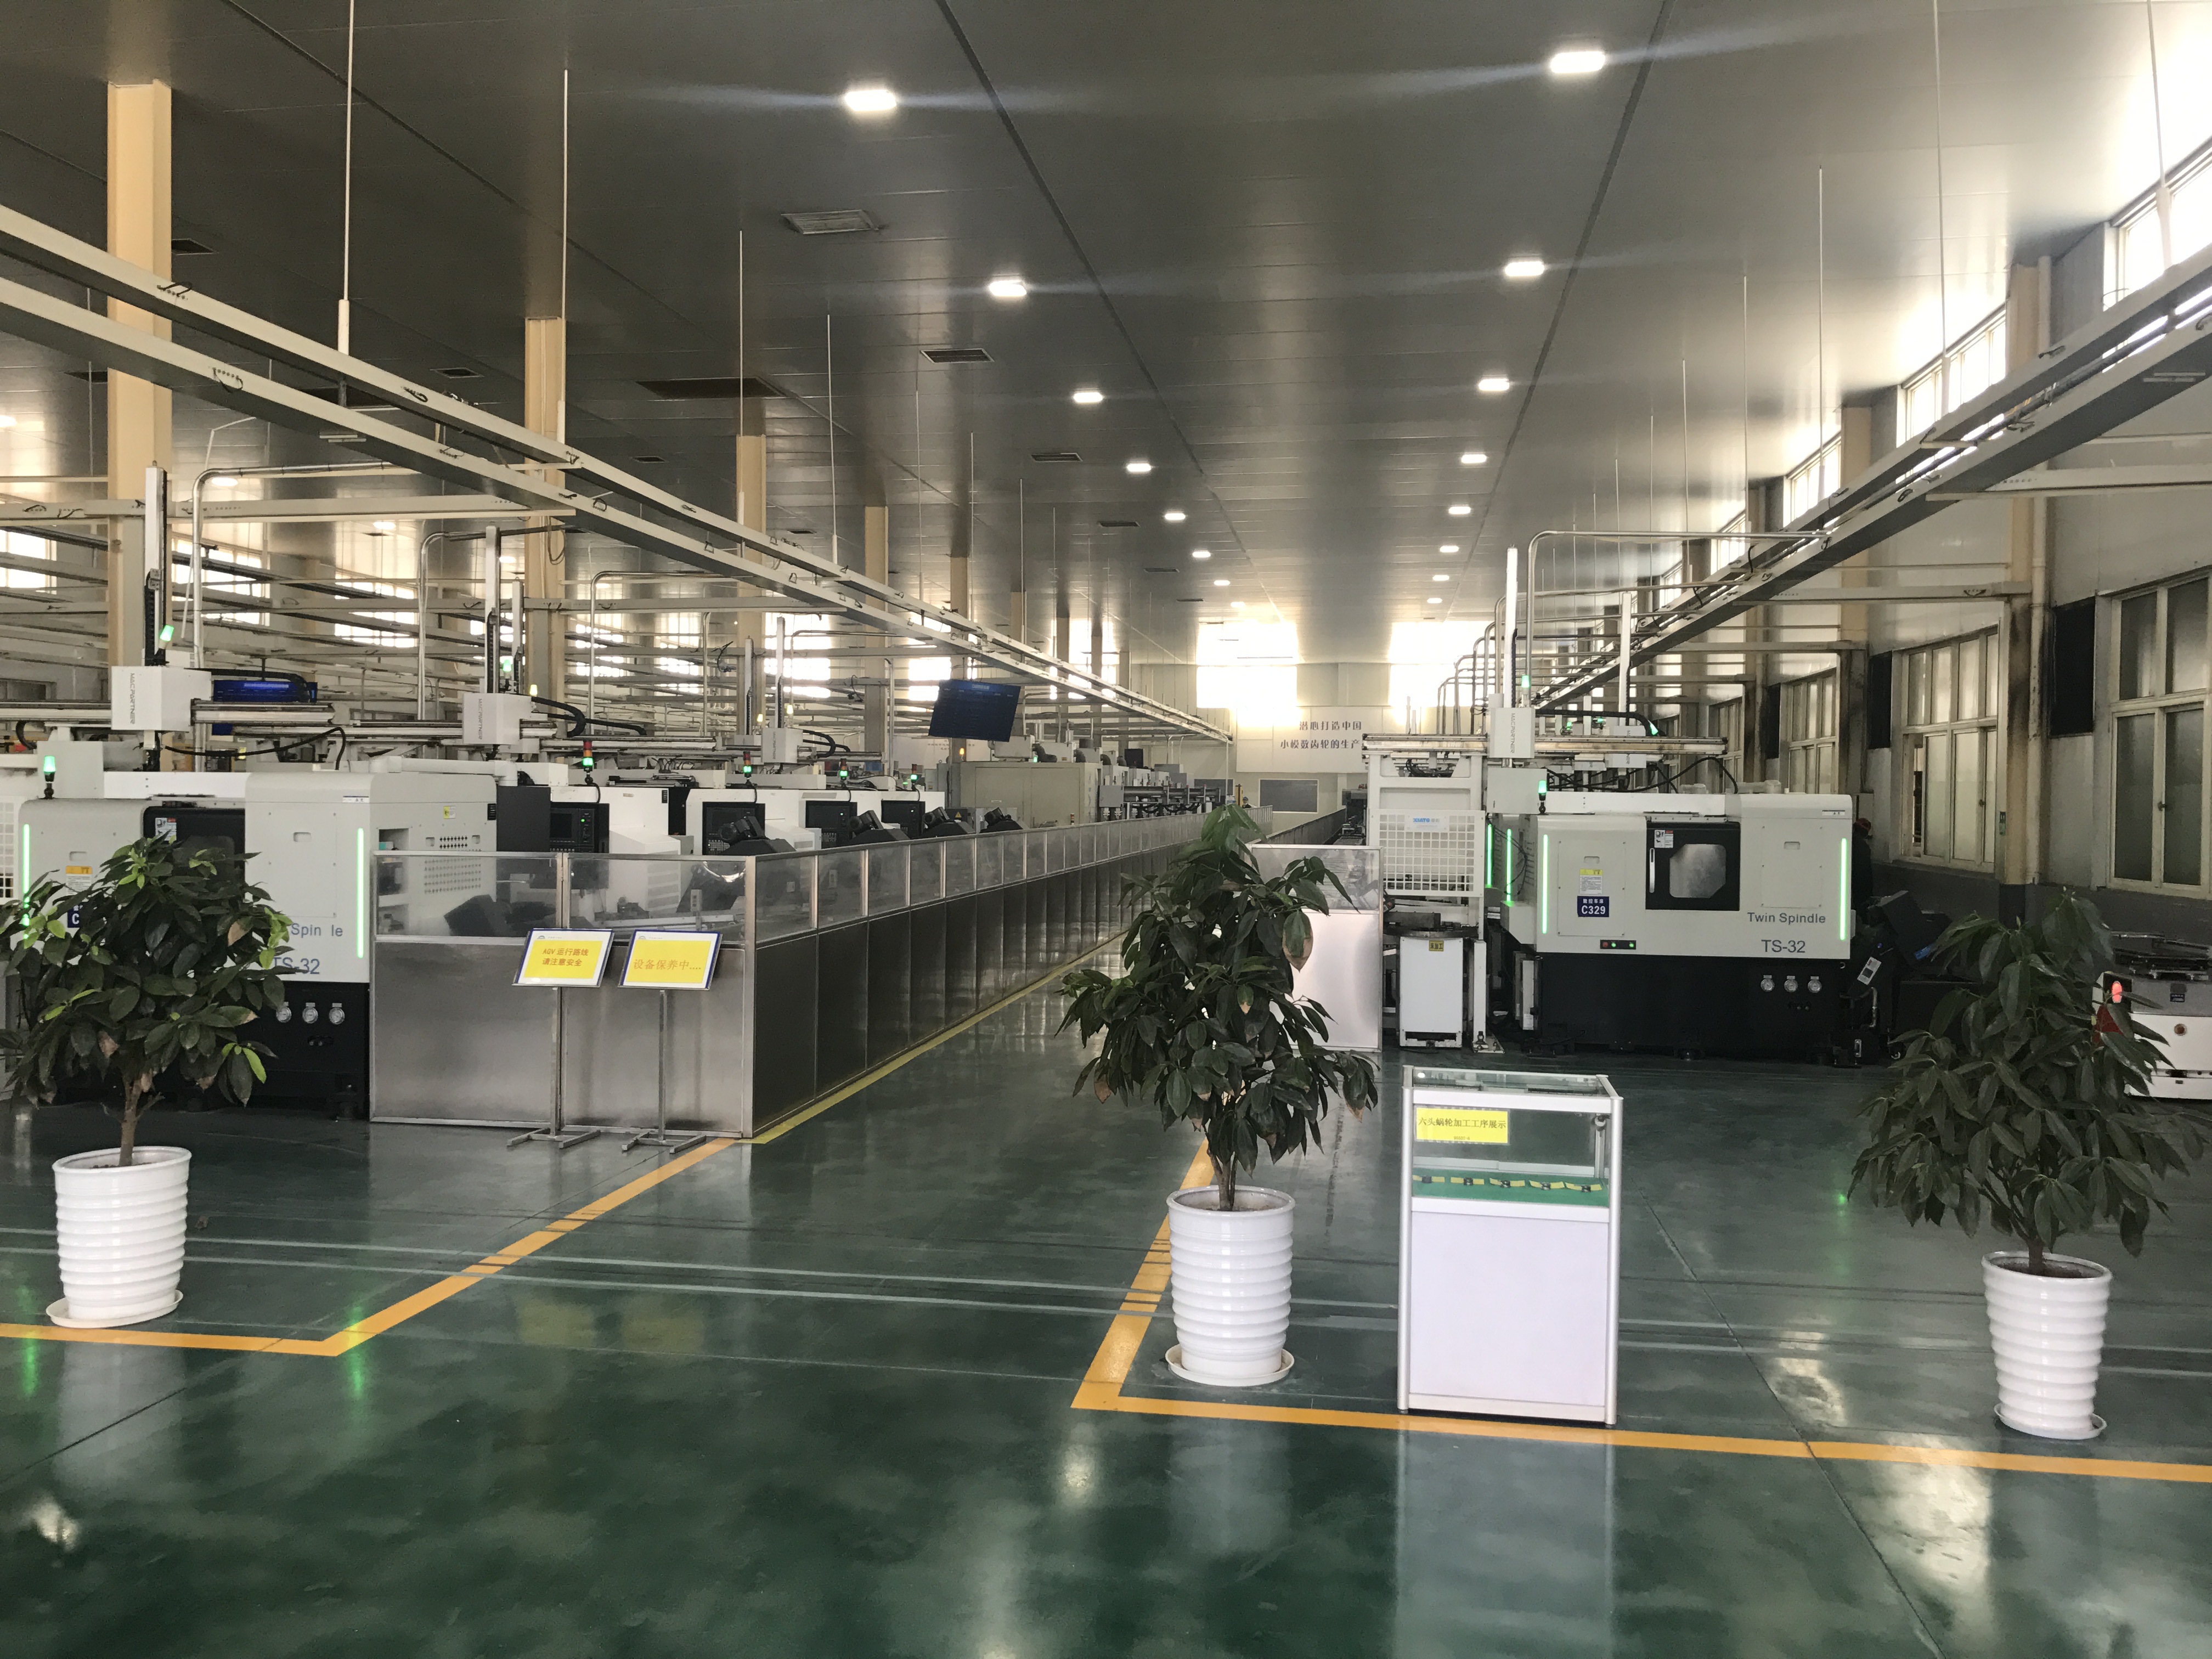
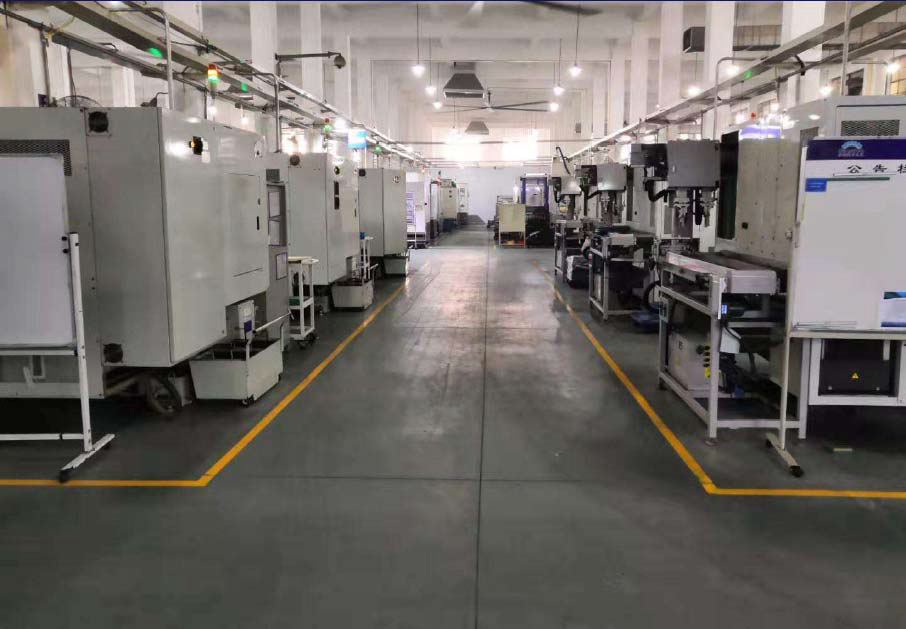
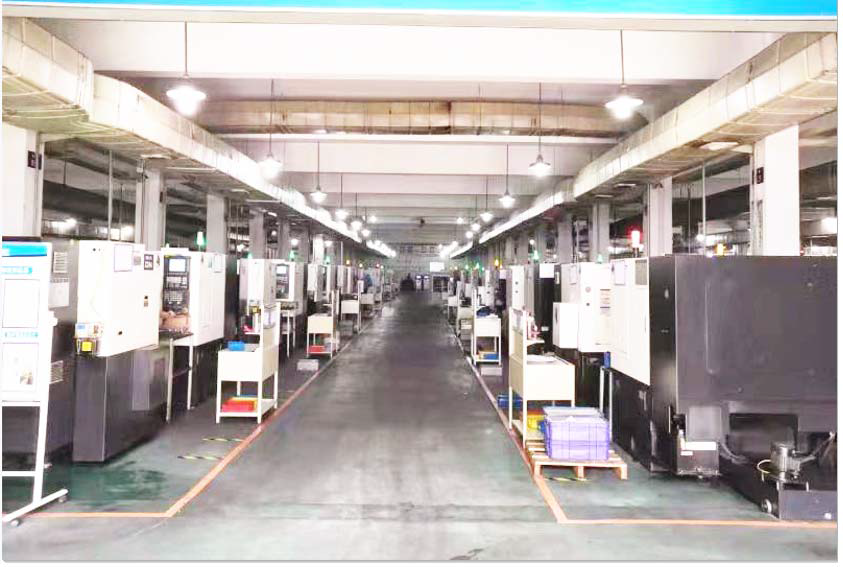
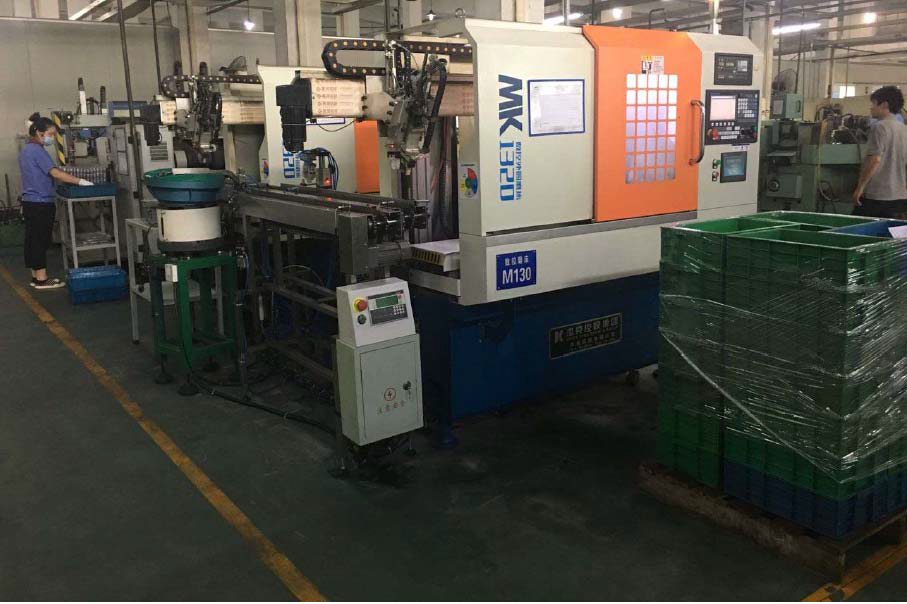
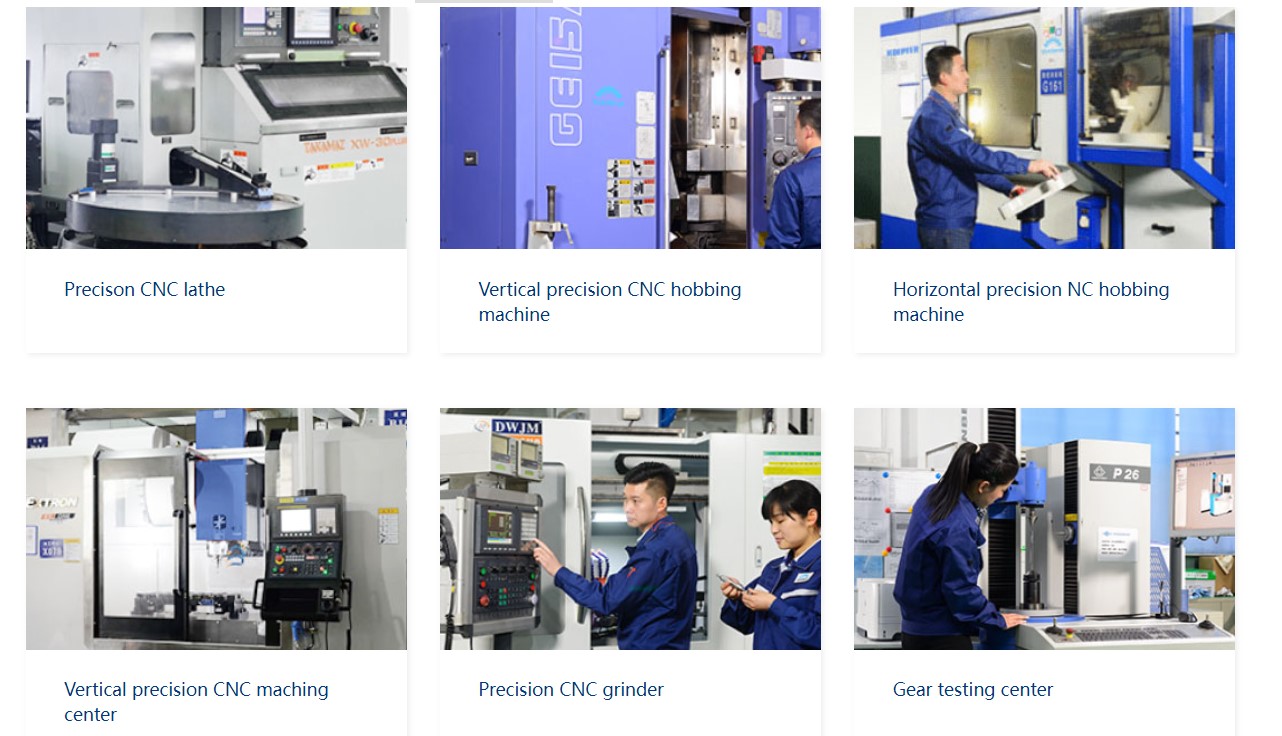
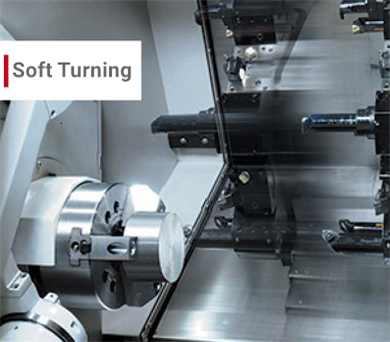
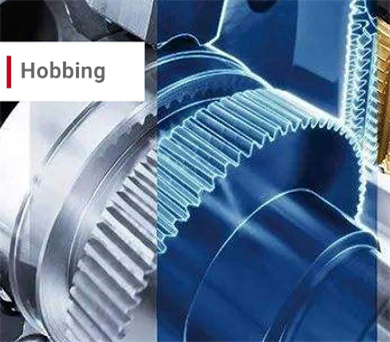
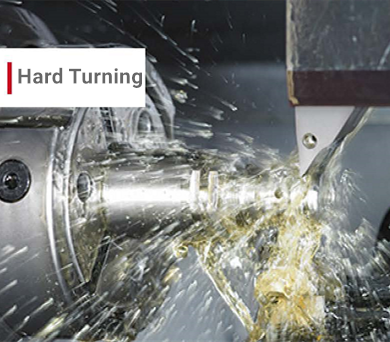
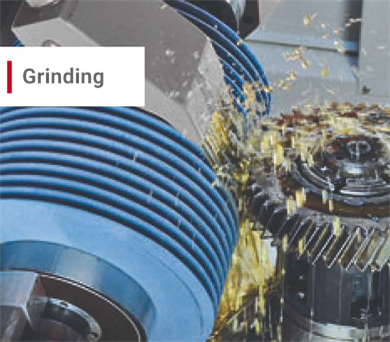
3. Use shapping ,power skiving ,vertical lathe, drilling and other equipment for rough and finish machining to meet the design requirements;
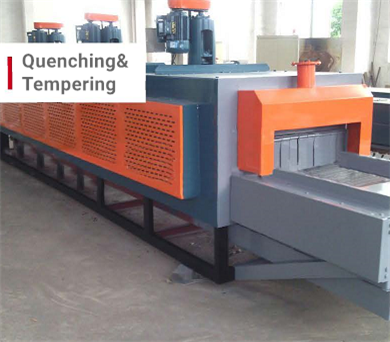
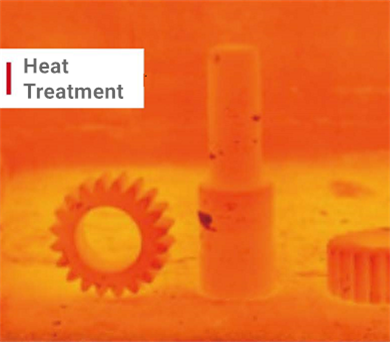
4. Soft nitriding treatment: the workpiece obtained in step D is subjected to soft nitriding treatment
5. Shot blasting and anti-rust treatment.
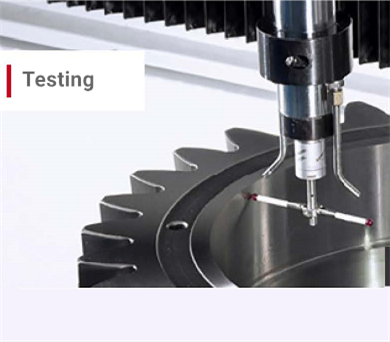
Inspection
We equipped with advanced inspection equipment like Brown & Sharpe three-coordinate measuring machine , Colin Begg P100/P65/P26 measurement center, German Marl cylindricity instrument , Japan roughness tester , Optical Profiler , projector , length measuring machine etc. to make sure the final inspection accurately and completely .
Reports
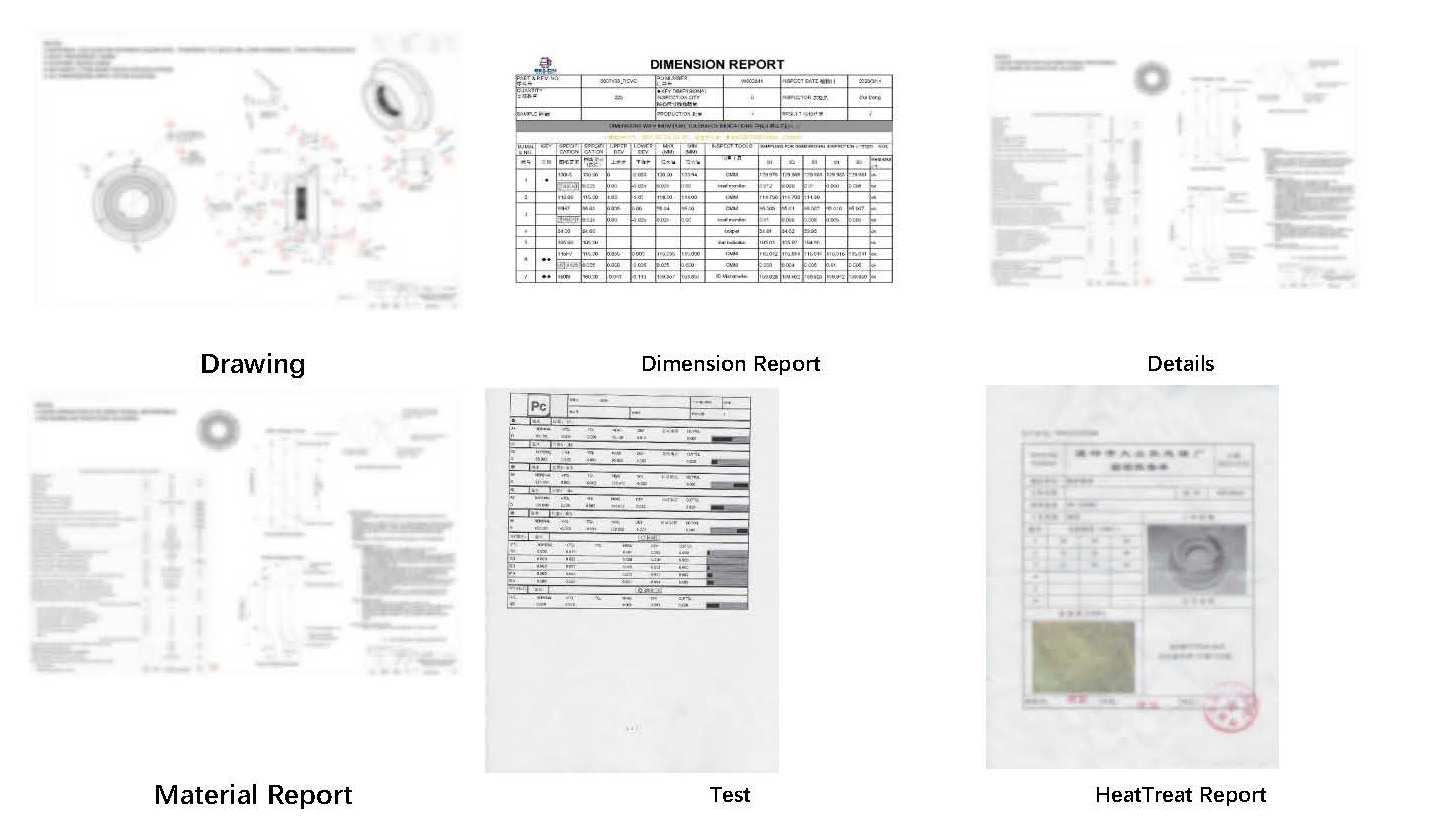
Before every shipping ,we will provide below these reports to customer to check details to make sure all are clear understood and good to ship .
1) Bubble drawing
2) Dimension report
3) Heat treat report before heat treat
4) Heat treat report after heat treat
5) Material report
6) Accuracy report
7) Pictures and all testing videos like runout , Cylindricity etc
8) Other testing reports per customers’ requirement like flaw detection report
